This is the first lesson of the Mini Web App course, which walks you through the creation of a simple web application, covering HTML and CSS, PHP, Bootstrap, Local Storage, and more.
When it comes to building a website or a web app, there are a lot of things to consider, but one thing that will always be necessary is a strong understanding of HTML and CSS.
Part 1: Introduction to HTML and CSS
HTML and CSS are foundational building blocks in the world of web development. When it comes to displaying information on the web, you can do as many fancy calculations as you’d like in the background, but HTML and CSS make it possible for you to present information to users via a web browser.
HTML – Giving web pages structure
Even if you’re not aware of it, you may already be familiar with HTML. Does this look familiar?
<html>
  <head></head>
  <body>
    <h1>Watch out for the flying cat!</h1>
    <p>
      Here it comes:
      <img src="http://bit.ly/r3fgru" />
    </p>
  </body>
</html>
If you’ve ever encountered something that looks similar to the code above, that’s HTML. HTML is the language that allows you to create websites that can be displayed in a web browser. It’s composed of various elements, each of which serve different purposes.
Each element has its own tag — a specific snippet of code unique to itself. In the HTML code above, you can see an example of two different tags: <h1>, designating the main header or title of a page, and <p>, designating a paragraph. Note also that tags most frequently come in pairs — with one opening and one closing tag — such as the <h1> and </h1> tags seen above. Content that’s contained within an element is included between the opening and closing tags, as in the case of the “Watch out for the flying cat!” header.
You’ll notice, though, that some tags do not have both opening and closing tags, as seen with the <img> tag, above. The <img> tag represents an image, and since you can’t really enclose any additional text within an image, its tag simply ends with />, as shown. You will also see an additional designation within the <img> tag: the src attribute. In HTML, attributes can be used to associate additional information with an element. In this case, our <img> tag requires a src attribute — designating the URL of the image — or else it wouldn’t know what image to display!
You’ll also notice that, many times, HTML elements can be nested, or included within one another. The image, <img>, tag, for example, is nested within the paragraph, <p>, tag. This allows you to do things such as include an image directly within a paragraph of text, as is done in the example.
If you were to create a web page with just the content in the example above, it would work just fine…but it would look something like this:
Not so impressive looking, right? (I mean, except for the cat, of course.)
While HTML takes care of the structure of a page, its partner in crime, CSS, takes care of the styling, allowing you to create pages that actually look nice.
CSS – Making web pages look slick
CSS is the language that, in the web world, allows you to make webpages pretty. It gives you the ability to control just about every visual aspect of a page, from text and background colors to widths, heights, and margins.
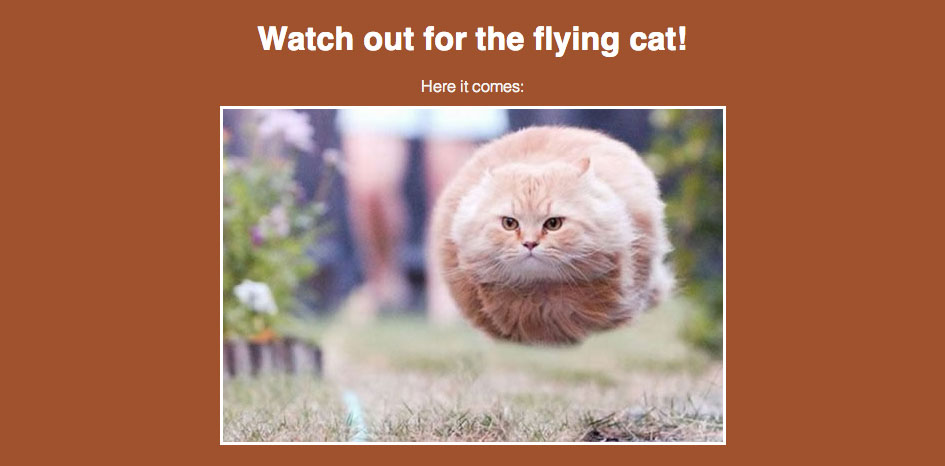
And the cool thing about CSS is it works directly with your HTML: you apply CSS rules to specific HTML elements. So say, for example, we wanted to give our entire page an orangey background. We could use the following CSS to accomplish just that:
body {
  background-color: Sienna;
 }
In order to apply rules to HTML elements using CSS, you can specify a declaration block, which designates the HTML element — the <body> element, in our example above — and any styling rules you wish to apply to those elements — the background color, in this case.
Within a declaration block, you can define as many rules as you’d like. We could amend our block above to also alter our page text’s font, alignment, color, and thickness (i.e. weight), as such:
body {
  background-color: Sienna;
  font-family: "Helvetica Neue Light", Helvetica, sans-serif;
  font-weight: 300;
  text-align: center;
}
If we define a few more CSS rules for additional elements, we can make our page look much nicer:
Part 2: Interactive lesson: creating a (simple) webpage
As promised, each Mini Web App lesson will contain an interactive activity to help reinforce your new knowledge. Below is the first lesson’s activity where you’ll be able to test out some of your new HTML and CSS skills via the use of interactive code editors.
The steps for the activity are shown, in order, in the left-hand column, below. You’ll notice that each step contains tips, but try completing them on your own, first! The best way to learn how to code is by doing. If you get stuck (which is totally fine, and will inevitably happen at points), then seek some help. Trust me on this one.
You can, and should, use the great resources of w3schools as you progress through the activity’s steps. Both their complete list of HTML elements as well as their list of all valid CSS rules should come in handy.
The interactive code editors for the activity are shown in the middle column. You’ll be entering your HTML and CSS code in the top and bottom editors, respectively. You’ll notice that when you make changes in one of the editors and then click out of it, the “Webpage Preview” in the right-hand column is automatically updated to reflect the code you’ve entered. And the editors will automatically save your progress, so don’t worry if you have to leave or refresh the page. You can always come back and finish everything up later.
Go ahead and get started with Step 1 below:
Step 1: Add a page header
<h1>My New Year's Resolutions</h1>Step 2: Create a list for your resolutions
<ul>
<li>My first resolution</li>
<li>My second resolution</li>
<li>My third resolution</li>
</ul>Step 3: Change the background and fonts
Then set the heading 1's font to Verdana, sans-serif and make it bold.
And finally, set the list's font to Georgia, serif.
body {
/* rules go here */
}
body {
background-color: DarkSlateBlue;
color: White;
}
h1 {
font-family: Verdana, sans-serif;
font-weight: bold;
}
ul {
font-family: Georgia, serif;
}Step 4: Style the list and its items
Then set the following styles for the list items: background color of SteelBlue; top and bottom margins of 5px and left and right margins of 0; padding of 10px.
margin: [top] [right] [bottom] [left].
ul {
font-family: Georgia, serif;
margin: 0;
padding: 0;
}
li {
background: SteelBlue;
margin: 5px 0 5px 0;
padding: 10px;
}Part 3: Putting your new skills into action
One of the goals of all Mini Web App lessons is for you to be able to put your new expertise and skills into practice right away. Here are a few ways you can begin using your HTML and CSS knowledge today:
Inspect existing websites
On all modern web browsers, you can right click on any element on a webpage and click “Inspect Element” in the menu that appears. (And would you look at that…you’re already utilizing your new knowledge, since you now know that any component of a webpage — be it a piece of text, a button, or a container — is, or is part of, an HTML element.)
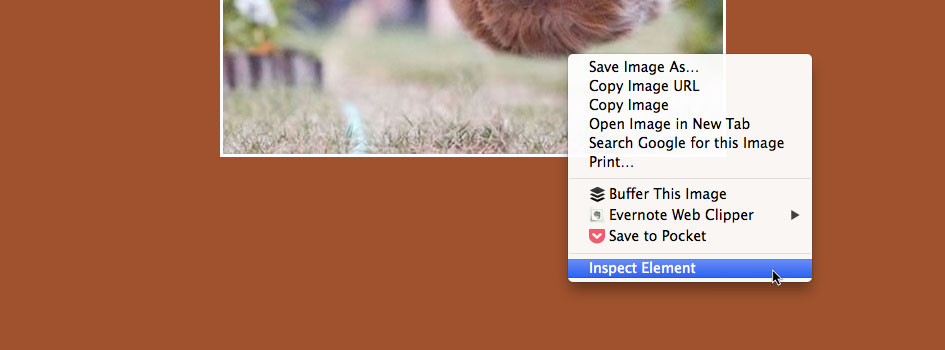
Clicking “Inspect Element” should bring up a panel at the bottom of your web browser with a bunch of different tools, called the Developer Tools, that allows you to view a bunch of information about the page you’re viewing and its makeup.
The default view of the Developer Tools panel should show you the page’s entire HTML content. (Note that if you do this on a typical webpage, it may be a bit overwhelming. Try visiting the test HTML and CSS example page I set up and do an “Inspect Element” there; it will be a much easier place to start.)
With the full HTML of the page you’re viewing visible in the bottom panel, you can mouse over any of the HTML elements, and you should see them highlighted (usually in a dim blue) on your screen. Clicking one of them in that bottom panel should also display all of its corresponding CSS style properties in the right-hand column of the Developer Tools panel.
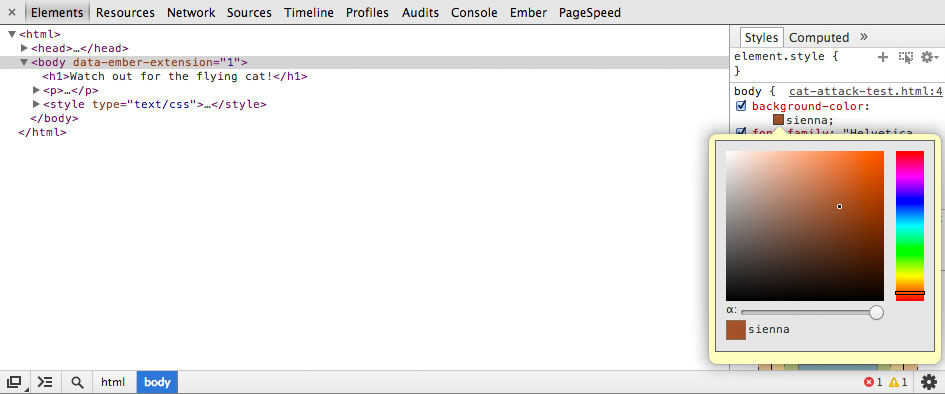
Additionally, you can edit any of the HTML and CSS properties directly within that bottom panel. It’s a great way for you to get a play around with the different elements and their properties and get a feel for some new things you may have never seen before. And don’t worry about messing anything up — none of the changes you make in that bottom panel will affect the actual website! You’ll notice that if you refresh your page after making changes that it will return to its original state.
For a brief overview of the developer tools for different browsers, reference the following links (although I recommend using Chrome):
- Chrome: CodeSchool – Discover DevTools (Chapter 1 only)
- Firefox: Firefox Page Inspector
- IE: Debugging HTML and CSS with the Developer Tools
Update your own website
If you already have your own existing website — great! You should now have an even better understanding of how everything plays together. Go ahead and make a few updates you’ve been holding back on or maybe update some of your page’s colors or fonts. You have the power!
Create a new website for yourself!
You saw how easy it was to create a simple website above, so how about creating one of your own? All you need is: a few minutes; a simple text editor (TextEdit on Mac or Notepad on Windows work perfectly fine); and a desire to get your hands dirty. I created a super simple “starter kit” to help you get started. Simply unzip that file, open up the index.html and style.css in your text editor, and make changes ’til your heart’s content. Then just double click the index.html file to open it up in your web browser and view your creation!