In a Laravel 5 application, you can use Blade, Laravel’s templating engine, to easily create a standard page template, or layout. That layout can then be utilized by any/all of your application’s views to give all of your pages a consistent design and structure.
Views not using a layout
Let’s take two example Laravel views that are not using a layout. Here’s a view used to display an object’s information — a programming question, in this case:
<!DOCTYPE html>
<html>
    <head>
        <title>{{ $object->title }}</title>
    </head>
    <body>
        <h1>{{ $object->title }}</h1>
        <p>{{ $object->description }}</p>
        <pre>
            {{ $object->code }}
        </pre>
        <p>Question submitted at: {{ $object->created_at }}</p>
    </body>
</html>
And here’s one to display a simple About page:
<!DOCTYPE html>
<html>
    <head>
        <title>About</title>
    </head>
    <body>
        <h1>About</h1>
        <p>This is the application I'm building in the
            <a href="https://selftaughtcoders.com/from-idea-to-launch">
            From Idea To Launch</a> course.</p>
        <p>This web application will allow people to
            both submit, and answer, programming-related
            questions for various different
            programming languages.</p>
    </body>
</html>
Notice how much duplicated code there is? In fact, there only pieces of code that are not duplicated are:
- the page titles
- the
bodycontent
It’s wasteful, and unwise, to create so much duplicated code.
It would be much better to create a common page template, or layout, where all of the common, shared code could live.
And we’re going to do just that. But first, let’s take a look at a real-world example to understand how page templates work.
A page in a novel vs. a page in a web app
When you’re reading a novel, each page typically has a familiar structure — the book and chapter title at the top, the page’s text in the middle, and the page number at the bottom.
When that book is being printed, do you think a brand new page layout is created for each and every individual page? No way!
They create one layout that’s used for every page and simply swap in the page-specific information: the chapter title, the page text, and the page number.
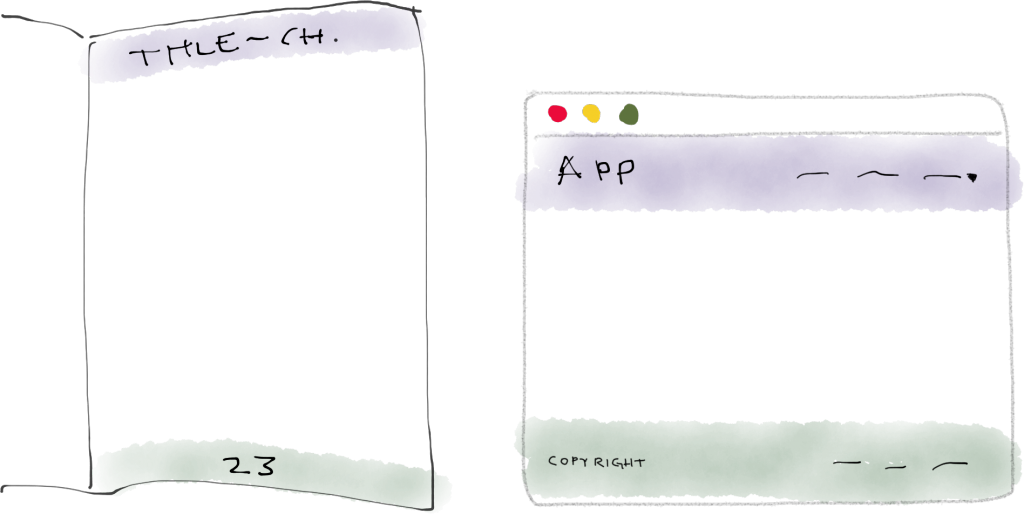
Similarities between the layout of a page in a novel and a page in a web app
And, very similarly, as we just saw, pages in a web app also contain a lot of shared “content”, or code.
So, just like for a novel, it also makes sense to create a common layout that can be used for each page in our app, swapping in any custom page-specific information. And that’s exactly what we’re gonna do.
Creating a Blade layout to standardize your application pages
You can create a Blade layout in order to clean everything up and move all of the common code — e.g. the opening and closing html, head, and body tags — into a single file.
To start, create a new layouts folder in the resources/views folder; this folder will be used to store all your layout files.
And, for now, let’s just create a simple layout. Create a new master, or default, layout file, named master.blade.php, in that resources/views/layouts folder, with the following code:
<!DOCTYPE html>
<html>
    <head>
        <title>ProgQuest - @yield('title')</title>
    </head>
    <body>
        @yield('content')
    </body>
</html>
In the title, you can use your own app’s name; I used my application’s name, “ProQuest”.
And then you’ll notice the two @yield statements. Those @yield directives are Blade’s way of designating placeholders in a layout file.
And you can see that we gave them each a name: 'title' for the page title placeholder, and 'content' for the main body content one.
And as you’ll see in just a second, we’ll be able to tell our views to:
- use this layout; and
- JUST pass in content to be displayed in place of each of these placeholders
That way, all of the code that’s currently duplicated in our existing views, will only need to be contained in this layout.
And we’ll just plug in the content specific to each view into the layout’s placeholders.
Now, let’s hook up our views to this new layout! :)
Using the layout in the views
Let’s start with the example show object view, from above.
Start by stripping out all of the common code. Remember, all of that standardized code is now contained within our new layout. So just keep this page title and the body content:
// title
{{ $object->title }}

// body content
<h1>{{ $object->title }}</h1>
<p>{{ $object->description }}</p>
<pre>
    {{ $object->code }}
</pre>
<p>Question submitted at: {{ $object->created_at }}</p>
Alright, so now we have just the content specific to this view.
Next, add the following line to the top of the view file:
@extends('layouts.master')
This @extends directive tells the view to utilize a layout; it says to this view: “Use the layout in the layouts folder (in resources/views named master (not including the .blade.php),” the master layout file we just created.
So now we just need to tell the layout what content to place in those placeholders. Remember, our layout placeholders were named 'title' — for the page title — and 'content' — for the body content.
To plug content into the placeholders, you just need to use @section tags, like so:
@extends('layouts.master')

@section('title', $object->title)

@section('content')
<h1>{{ $object->title }}</h1>
<p>{{ $object->description }}</p>
<pre>
    {{ $object->code }}
</pre>
<p>Question submitted at: {{ $object->created_at }}</p>
@endsection
So this says to the the view: “Put use this code in place of the 'title' placeholder; and this code in place of the 'content' placeholder.”
Note that, when you’re just passing in a single string — like in the case of the 'title' placeholder, you can just pass in the string @section, as a second parameter.
When you’re passing a block of code — such as for 'content', above — you need to surround the code with @section and @endsection tags, as shown.
And if you were to load up this Show Question page, it would appear exactly as it did before. Remember we didn’t change any of the page’s content, we just changed its underlying code organization.
But, the fact that it still displays properly means the new layout is working.
And now we can use this layout for any of our views!
Layouts can be used by any views
So… let’s go change the About page view to use the layout as well:
@extends('layouts.master')

@section('title', 'About')

@section('content')
<h1>About</h1>
<p>This is the application I'm building in the
  <a href="https://selftaughtcoders.com/from-idea-to-launch">
  From Idea To Launch</a> course.</p>
<p>This web application will allow people to
  both submit, and answer, programming-related
  questions for various different
  programming languages.</p>
@endsection
And if we load up the About page in our browser, we’ll see that it appears as expected, utilizing the new layout.
Adding common page components to the layout
Where using a layout becomes particularly useful is when you’re adding page elements that are common to all of your pages, such as a header and footer.
So if we were to modify our layout like so:
<!DOCTYPE html>
<html>
    <head>
        <title>ProgQuest - @yield('title')</title>
    </head>
    <body>
        [HEADER]

        @yield('content')

        [FOOTER]
    </body>
</html>
… and then reload any of the pages that utilize the layout — e.g. either the Show Question or About pages — those [HEADER] and [FOOTER] placeholders would appear on them all.
Layouts make it very easy to create consistent page structures and designs throughout your application’s pages, and as soon as you start building an application of any reasonable size, they’re an absolute must-have.
