HTML and CSS are foundational building blocks of all the content you see on a website in the world of web development.
When it comes to displaying information on the web, you can do as many fancy calculations as you’d like in the background, but HTML and CSS make it possible for you to present information to users via a web browser.
Creating a new HTML page
Even if you’re not aware of it, you may already be familiar with HTML. Does the code below look familiar? That’s HTML code.
<html>
  <head>
    <title>Hello, world!</title>
  </head>
  <body>
    <h1>Hello, world!</h1>
    <p>
      I'm a baby panda:<br>
      <img src="http://bit.ly/12cDycp">
    </p>
  </body>
</html>
Go ahead open up your source code editor, create a new HTML file with the code above, and save it in your Code with the name intro-html-css.html.
Then open the page in your browser — just open your browser, go to File > Open, and browse to the file — and you should see some new elements, as shown below.
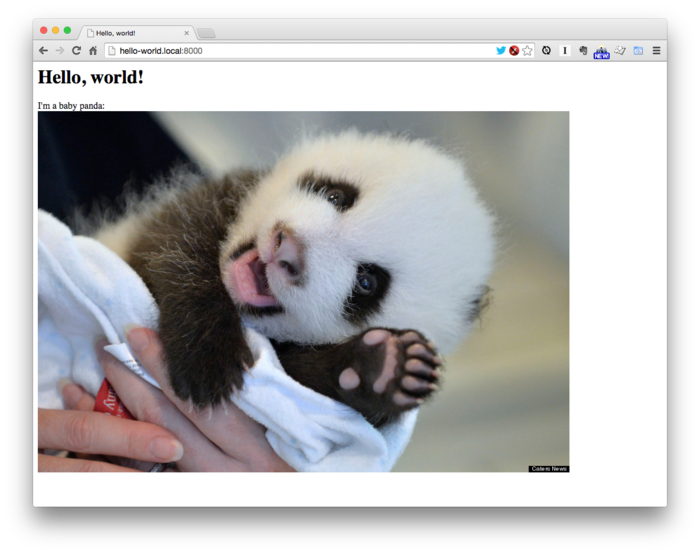
Initial HTML page with the initial elements
HTML gives webpages structure
HTML is the language that allows you to create elements on a page. There are a variety of different types of elements, each of which serve different purposes.
Each type of element has a unique tag. In the HTML code in Listing 15.1, you can see an example of two different tags: h1, designating the main page heading, and p, designating a paragraph.
Tags almost always come in pairs — with one opening and one closing tag — such as the <h1> and </h1> tags seen above. That element’s inner content is contained within its opening and closing tags, as in the case of the “Hello, world!” text in the h1 element.
You’ll notice, though, that some tags do not have both opening and closing tags, as seen with the img tag, above. The img tag represents an image, and since you can’t really enclose any additional content within an image, it doesn’t require a closing tag.
You will also see an additional designation within the img tag: the src attribute.
Attributes contain additional information
In HTML, attributes can be used to associate additional information with an element. In the case of an img element, we need to designate the image it should display. That’s done by providing the image URL via the src attribute:
<img src="http://image-url-here">
Some elements can contain other elements
You’ll also notice that, many times, HTML elements can be nested, or included within one another.
The image, img, tag, for example, is nested within the paragraph, p, tag. This allows you to do things such as include an image directly within a paragraph of text, as demonstrated in the example.
The basic HTML page structure
Every HTML page uses the same basic structure:
<!DOCTYPE html>
<html>
  <head>
    <!-- info about the page -->
  </head>
  <body>
    <!-- page content -->
  </body>
</html>
The DOCTYPE declaration informs the browser as to what version of HTML it’s looking at. Suffice it to say that you’ll never need to change this.
The entire page’s content is wrapped in html tags. Remember that almost all HTML elements require an opening closing tags with their content contained within. The html element is no different.
There are two main sections of every HTML document: the head and the body. The head contains metadata, which is literally data about data. In the case of an HTML document, such information includes the page’s title, description, and character set (as different languages require the use of different character sets, or alphabets).
The body element contains all of the content that a visitor actually sees within their web browser.
CSS — making webpages look slick
So HTML helped us create our page’s elements, but the overall the page still looks pretty…bad.
CSS is the language that allows you to make webpages pretty. It gives you the ability to control every visual aspect of a page, from text and background colors to widths, heights, and margins.
And the cool thing about CSS is it works directly with your HTML: you apply CSS rules to specific HTML elements.
So let’s say we want to give our entire page a green background. Add the new style element and its CSS code shown below to do exactly that.
<html>
  <head>
    <title>Hello, world!</title>
    <style>
      body {
        background-color: LightGreen;
      }
    </style>
  </head>
  .
  .
  .
Refresh the page in your browser, and the page’s background should now be green.
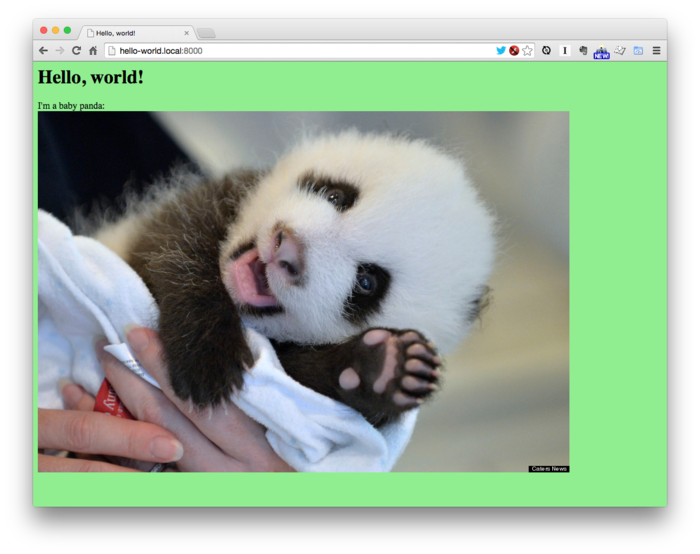
The Hello World page with a green background
CSS rules are applied like so:
element-tag {
  rule-name: rule-value;
}
So in order to set the background-color of our body element to be LightGreen, our rule was written like so:
body {
  background-color: LightGreen;
}
That entire snippet of code is known as a CSS declaration block. Within each declaration block, we can define as many rules as we’d like.
Let’s amend our block to also alter our page text’s font, alignment, color, and thickness (i.e. weight), as shown below.
    .
    .
    .
      body {
        background-color: LightGreen;
        font-family: "Helvetica Neue Light", Helvetica, sans-serif;
        font-weight: 300;
        text-align: center;
      }
    .
    .
    .
Refresh the page, and you’ll see that it looks a bit nicer still.
To finish things off, add a few CSS rules for some of the other elements, as shown below.
    .
    .
    .
      body {
        background-color: LightGreen;
        font-family: "Helvetica Neue Light", Helvetica, sans-serif;
        font-weight: 300;
        text-align: center;
      }
      h1 {
        font-size: 40px;
        margin: 20px;
      }
      img {
        border: 5px solid Black;
        margin: 20px;
      }
    .
    .
    .
Refreshing a final time yields the nicest-looking page yet, as you can see below.
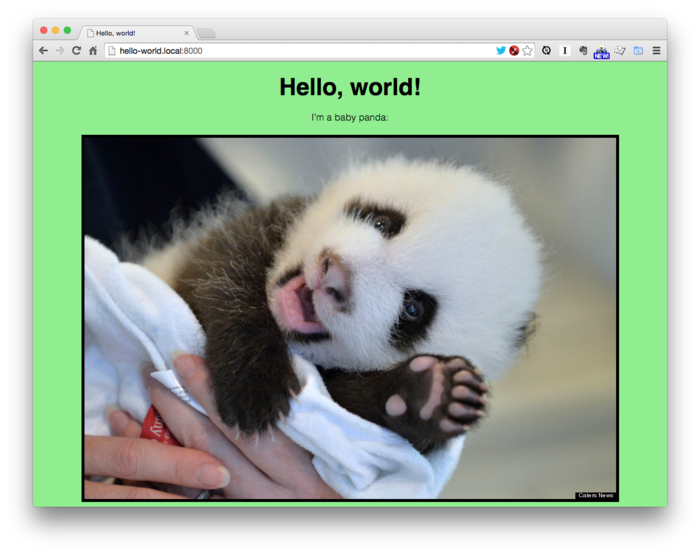
The Hello World page with final CSS applied
And here’s your final code:
<html>
  <head>
    <title>Hello, world!</title>
    <style>
      body {
        background-color: LightGreen;
        font-family: "Helvetica Neue Light", Helvetica, sans-serif;
        font-weight: 300;
        text-align: center;
      }
      h1 {
        font-size: 40px;
        margin: 20px;
      }
      img {
        border: 5px solid Black;
        margin: 20px;
      }
    </style>
  </head>
  <body>
    <h1>Hello, world!</h1>
    <p>
      I'm a baby panda:<br>
      <img src="http://bit.ly/12cDycp">
    </p>
  </body>
</html>
