This is lesson two of a 10 ten-lesson course, Simple CodeIgniter App, which walks you through the creation of your first PHP web application using the CodeIgniter framework.
Note: If you already worked your way through the “Web Server Setup Guide” from last week, you can skip down to the Creating your first website section below. If you didn’t, just continue on!
Last week we got our feet wet, gaining a big-picture understanding of how web apps work.
This week, it’s time to get our hands dirty!
In order to begin developing, the first thing we need to do is get our development environment setup.
Your development environment
In software development, your development environment is comprised of the applications that will run on your computer, in the background, to enable our web app to actually come to life.
In our case, we need our environment to possess a few things: a database (that will store all of our data); a web server (that will be responsible for helping us access our app via a web browser, as explained briefly last week); and PHP (as it has its own dependencies and requirements, which we need to install).
Luckily for us, there are pre-packaged solutions that already contain all of those components! At this point, we can yet again be thankful for the multitude of free, openly-available tools that the software development community has made available.
Our web server software
As we discussed last week, our web app is comprised of two main parts, the front end and the back end.
The front end languages—HTML, CSS, and JavaScript—are all automatically understood by your web browser. There’s nothing special we need to do in order for their code to be properly executed.
In order for the back end to function properly, on the other hand, we need to configure our own web server. Without a web server, we wouldn’t be able to run any code in the back end’s language, PHP, or store any data in a database.
There are three major pieces of software we need to install in order to establish our full web server…
Apache
Apache is our web server software, which will be responsible for allowing us to actually host and serve pages via a web browser.
Without it, we wouldn’t be able to develop a system of interconnected pages, which make up the true essence of the app, itself.
PHP
PHP, as we’ve discussed, is our back end language.
But in order for our computer to be able to understand and interpret PHP code, the PHP software application needs to be installed.
MySQL
MySQL is the name of the database we’ll be using.
As was just mentioned previously, our database will be responsible for storing all of the data that we’ll be using so we can retrieve it and display it throughout our web app.
Now let’s get everything set up!
Week 2 Task
1. Set up your development environment
This week’s task is a big ‘un, but after you’ve gone through everything, your computer will be fully ready for you to start doing some coding on your own!
If you’re on Windows…
…you can simply install WAMP, which stands for Windows, Apache, MySQL, and PHP. It contains all of the software that we need to establish our web server.
You can download WAMP directly from SourceForge.
If you’re on a Mac…
…you can simply install MAMP, which stands for Mac, Apache, MySQL, and PHP. It contains all of the software that we need to establish our web server.
Visit MAMP’s Downloads page and download the current version of MAMP & MAMP Pro (“MAMP & MAMP PRO 3.0.5” at the time of writing).
Installing WAMP/MAMP
Once you’ve downloaded WAMP or MAMP (depending on your operating system), proceed through the installation, making sure to write down any passwords you need to create throughout the process. They don’t have to be insanely secure (and can sometimes even be left blank), as you’ll only be accessing these tools on your own computer.
You can leave all options set to the defaults as you progress through the installation.
Once installed, let’s test everything to make sure it’s working properly.
Testing everything: On Mac
If you’re on a Mac, make sure the MAMP application is started (it should be located in your Applications directory) and that you see its icon in your menu bar. Clicking the icon should bring up the MAMP control center, as shown here:
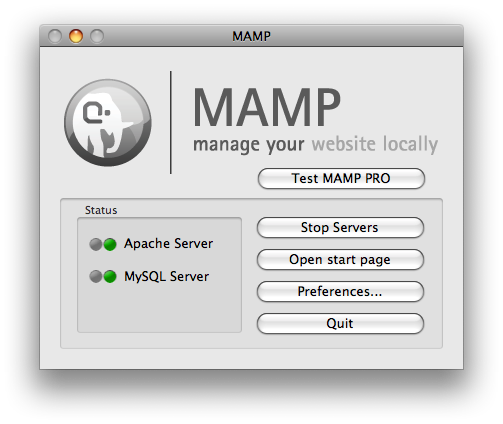
If the “Apache Server” and “MySQL Server” indicators in the “Status” section are not green, click the “Start Servers” button to start them.
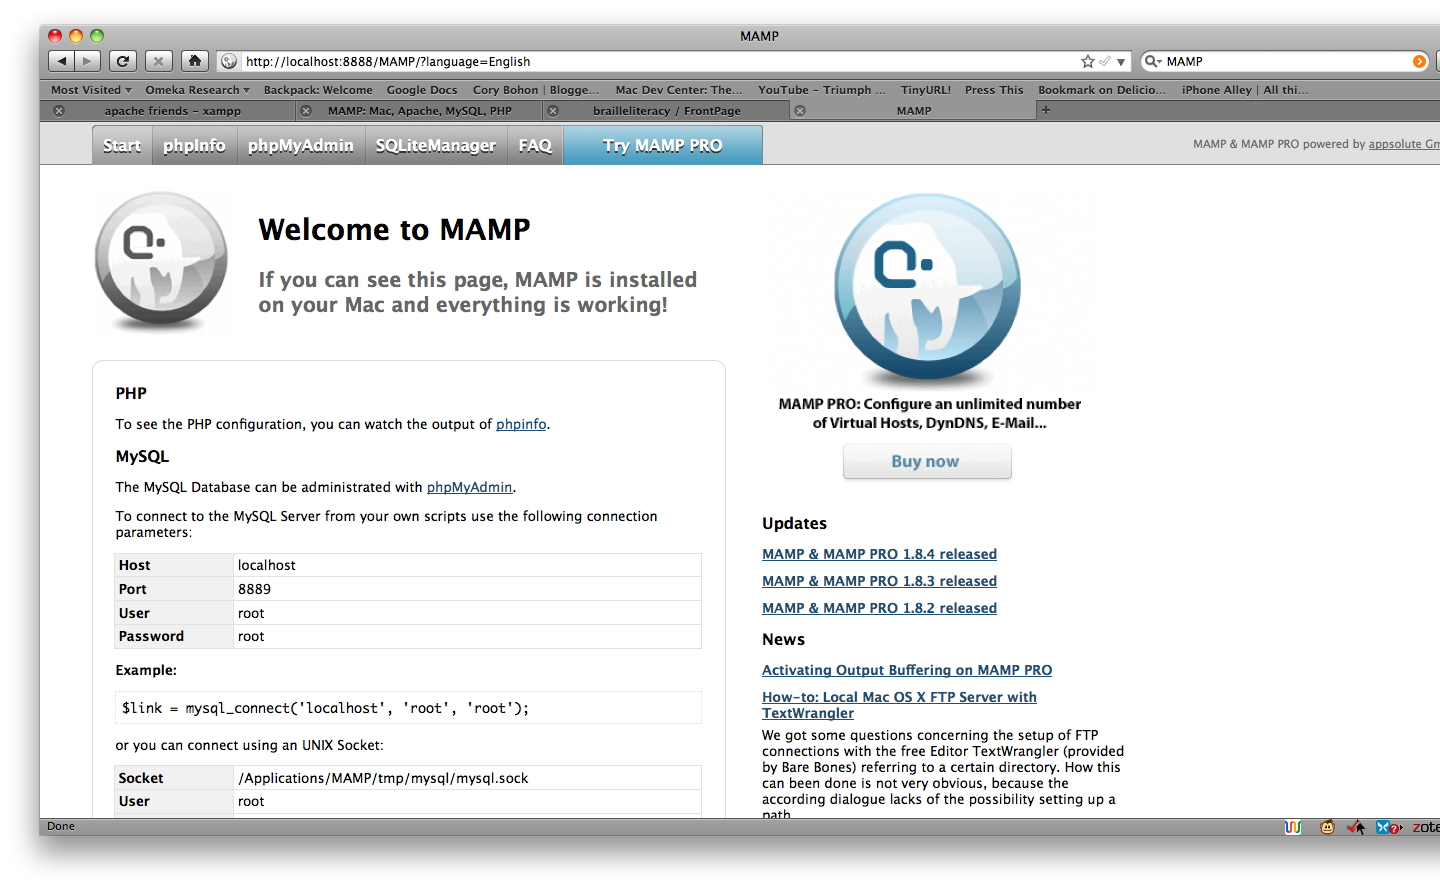
Then, to make sure everything’s working properly, click the “Open start page” button, which should open the MAMP start page within your web browser, similar to the one seen here:
Mac only: A minor adjustment
When you opened up the MAMP home/test page, you may noticed that the
URL included an ugly :8888. Let’s get rid of that.
In the MAMP control center (depicted in the one image above), click the “Preferences” button, then click the “Ports” button/tab, and then click the “Set to default Apache and MySQL ports”, as shown here:
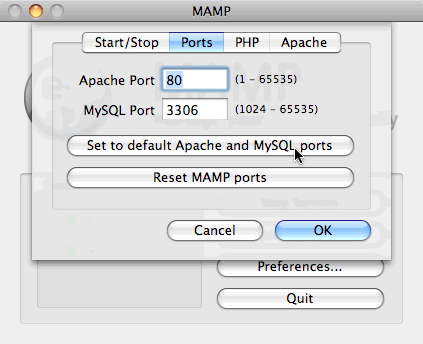
Wait about ten seconds for the new settings to take place and then click the “Open start page” button again. You start page’s URL in your browser should now be shown without the “:8888”. Success!
Testing everything: On Windows
If you’re on a PC running Windows, make sure that the WAMP application is started (you should have an icon on your Desktop or within your Start menu) and that you see it’s icon at the very bottom of your screen on the right side of your taskbar:
If the icon in your taskbar is not green, left click on it, and choose “Start all services”:
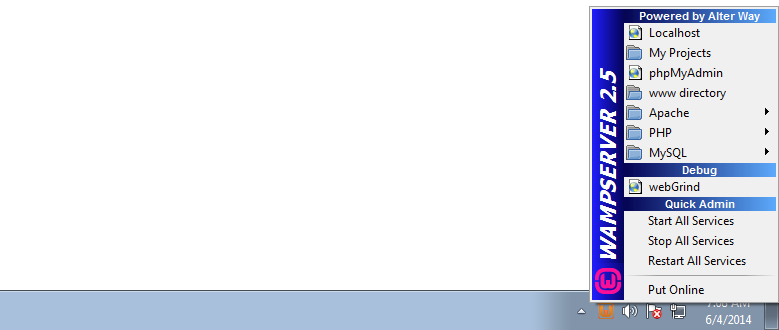
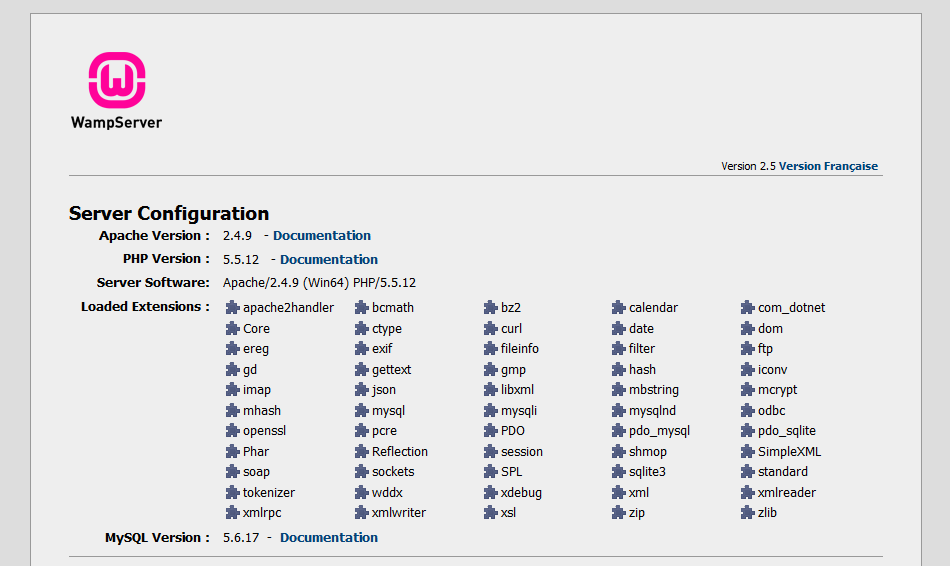
From that same menu (in the image above), you should now be able to click “Localhost”, which should display the WAMP start page in your browser, similar to the one seen here:
If you run into any problems…
…run a quick Google search or just send me an email and let me know what’s up. It’s very likely that someone else has experienced a very similar issue before and has explained how to remedy it.
Your development tools
Great! You now have the necessary background applications installed to power your web app.
But as with any other craft, web development requires a set of tools.
In our case, the main tool we’re concerned with is essentially a fancy text editor, known as a source code editor. It will allow us to easily manage our our app’s files, as well as edit our existing files and add any new files, as needed, all within a nicely designed application.
Sublime Text 2
The source code editor that I highly recommend is Sublime Text 2. You can certainly use any number of the other options, but this is the best, most comprehensive source code editor I have ever come across. And it’s very easy to get started with—don’t worry!
To get Sublime Text, visit the Sublime Text homepage and download the latest version. Note that it doesn’t cost anything to download and install, but if you end up really liking the tool, they recommend you pay a nominal, one-time cost.
Go ahead and install Sublime Text, using all of the default options, and open it up. You’ll notice that, at first glance, it appears to just be another text editor, really. We won’t jump into any of the super-cool features it possesses at the moment, but suffice it to say there’s way more to it than meets the eye.
Congratulations! You’re now ready to do some coding! Leave a comment below so I know you made it this far!
2. Creating your first website
With all of our tools in place, it’s a great time to create a very simple website, demonstrating how everything works together to allow you to view a page in your browser.
In Windows
Assuming you left the default installation location, WAMP’s main web directory— where we’ll be placing all website and web app files—should be located at C:WAMPwww.
Within that www directory, create a new folder named hello-world that we’ll use for our website.
On A Mac
Assuming you left the default installation location, MAMP’s main web directory— where we’ll be placing all website and web app files—should be located within your Applications folder at /Applications/MAMP/htdocs.
Within that htdocs directory, create a new folder name hello-world that we’ll use for our website.
Our Website’s Files
For our simple website, we’ll just be creating one file.
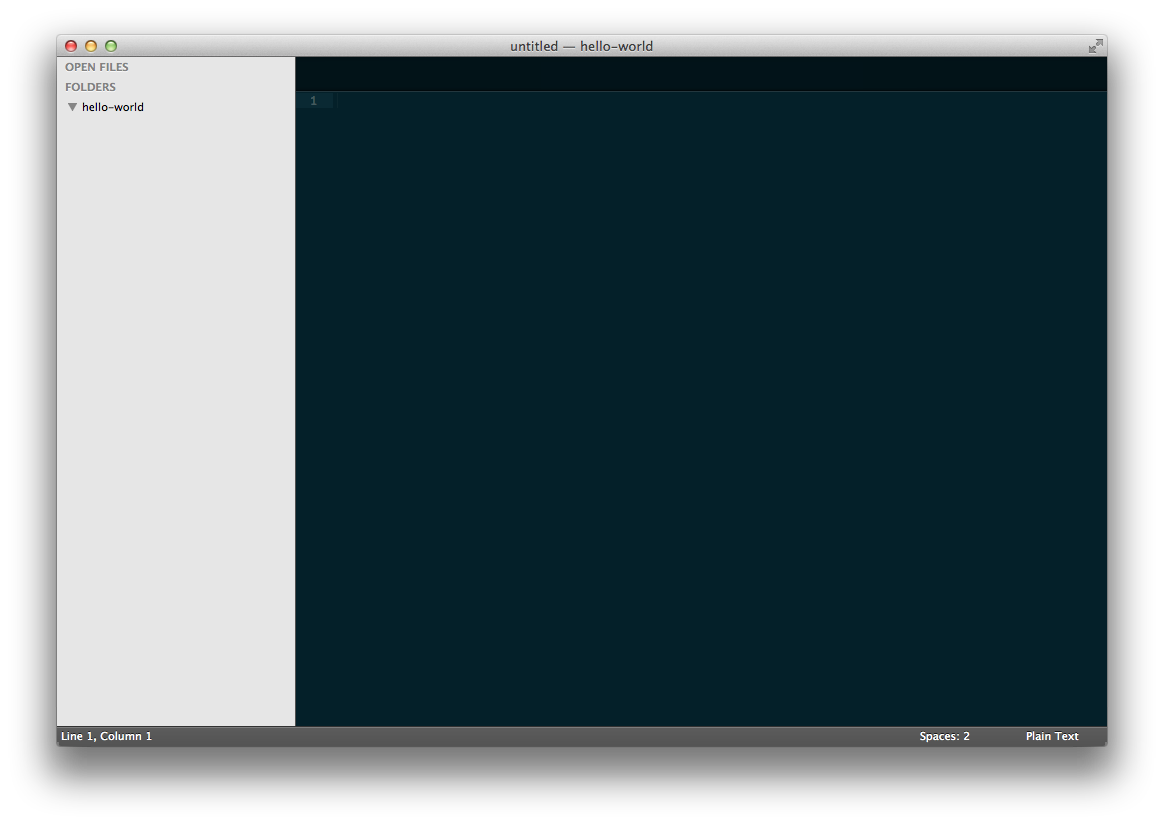
Let’s start by opening the new hello-world folder you just created in Sublime Text. With Sublime Text open, go to File ≫ Open (on Mac), or File ≫ Open Folder (on Windows), locate and highlight (single left click) the hello-world folder, and click “Open”.
You should now see your folder open within the left-hand panel of Sublime Text:
Right click on the folder’s name in the left column and click “New File” from the context menu that appears. Then go to File ≫ Save, and name your new file index.php. That new file should now also be shown in the left column of Sublime Text:

When creating a website, the “home” page is generally named index, as it’s the main index of the site, if you will.
PHP Files are Special
They’re special in that they can contain HTML as well as any PHP code.
While HTML code may be placed anywhere within the document, all PHP code within a .php file must be placed within the opening and closing PHP tags, <?php and ?>.
Copy and paste the code below into your new index.php file, and we’ll walk through it, step by step:
<!DOCTYPE html>
<html lang="en"> <head>
<meta charset="utf-8">
<title>Hello, World!</title> </head>
<body>
<?php
echo "Hello, World!";
?>
</body>
</html>
The structure of a webpage
We’ll go into HTML in greater detail in a future lesson, but let’s take a quick walk through the basics now.
We’ll start by taking a look at the overall structure of the code. All HTML documents are structured in a similar way, with an html element, which contains head and body elements. Note that, as you can see, each HTML element has both a beginning, and ending tag, such as <body> and </body>.
The head element contains some metadata, or informational data, such as the title element, which determines the text that you see in the tab of your web browser.
The body, as you may very well have guessed, contains the meat of the page. This is the section that contains all of the elements that are actually displayed to someone whose viewing a webpage in their browser.
In our case, the body simply contains a small snippet of PHP code:
<?php
echo "Hello, World!";
?>
Note that, as mentioned, our PHP code is wrapped in opening and closing PHP tags, <?php and ?>. Those tags are what tells our browser “Hey! This is PHP code! Make sure you process it accordingly.”
The echo statement simply prints out a string of text, in our case “Hello, World!” (If you’re wondering where all of this “hello, world” stuff is coming from, creating a simple program to display the text “hello, world” has historically been used as an exercises for those starting to learn. If you’re curious, feel free to read more about its history.)
With our new file in place, you should now be able to view the website you created at http://localhost/hello-world/index.php.
I realize it may seem a bit boring at first, but hey—you created that! You’re running a website, that you, yourself, created, on your own computer.
Congratulations yet again! We’ll be diving into PHP in much greater detail later on. There’s way more to come…
And if you have any questions, just leave a comment below and ask away.