This is lesson six of a 10 ten-lesson course, Simple CodeIgniter App, which walks you through the creation of your first PHP web application using the CodeIgniter framework.
Now that you have an understanding of the major, foundational concepts behind the functioning of a real-life web app, it’s time to get your hands dirty.
Let’s start building this web app!
Touring CodeIgniter (CI)
Last week we finished up by installing CodeIgniter (CI). With that initial setup out of the way, let’s take a look at all of the CI files.
The main folders
Go ahead and open up Sublime Text and go to File ≫ Open (Mac) or File ≫ Open Folder (Windows), select the main todos-app directory, and click “Open”.
You should now see the folders entire structure in the left-hand column of Sublime Text. There are three main folders — application, system, and user_guide — as shown here:

Sublime Text with the initial CodeIgniter folders
The user_guide folder contains the entire CI User Guide. If you’d like to, at any point, you can view this local copy of the guide at http://localhost/todos-app/user_guide. You really don’t need concern yourself with this local copy though, as the (always up-to-date) same exact guide is also available online at http://ellislab.com/codeigniter/user-guide.
The system folder contains all of the inner-workings of CI. All of the files that will help power our web application are contained within this folder, and thanks to the CI team, we have access to all of this functionality right away, without have to write it ourselves.
The application folder is the one we’ll be spending most of our time in. It’s where all of the code specific to our app will live, including all of its models, controllers, and views.
A few conventions to keep in mind
File directory paths in this course
By default, the full folder path to our application’s main directory is a few folders deep.
For example, the full path to my version of the app is:
/Users/acoleman/Sites/todos-app
So the full path to my app’s routes config file (which we’ll learn about in just a bit) is:
/Users/acoleman/Sites/todos-app/application/config/routes.php
But for simplicity’s sake, from here on out, I’m going to refer to the paths of all folders and files relative to the main todos-app folder.
So, in the future, when discussing the routes config file, it will be referred to as:
application/config/routes.php
Vertical ellipses in code samples
One last thing. In some of the code samples contained throughout the remainder of the course, you’ll notice the use of vertical ellipses:
.
.
.
These are essentially just placeholders for other pieces of code that you’ve already seen that exist within one of the app’s files. They’re used to prevent having to constantly repeat the same pieces of code over and over again.
Let’s take a look a quick example. Say we’ve already seen the following piece of HTML code:
<body>
  <h1>The page title</h1>
  <p>This is paragraph one...</p>
  <p>And this is paragraph two.</p>
  <p>Here's another.</p>
  <p>And I'm the last!</p>
</body>
Now let’s say, later on, that we want to add a button after those paragraphs. The code sample designating the addition of our new button would likely be displayed like so:
<body>
  .
  .
  .
  <button>Click me!</button>
</body>
It tells you exactly where to place the code for the button without having to repeat the code for the page title and paragraphs that you’ve already added.
Now back to our regularly scheduled programming (get it?).
The “Welcome” screen explained
The welcome screen itself gives us some clues. It mentions two files:
Its view: application/views/welcome_message.php;
and its controller: application/controllers/welcome.php
Those two things sound familiar? …a view and a controller?
As I mentioned, CI uses the MVC paradigm we discussed in last week’s lesson (I didn’t go into detail about MVC for nothing!), and its Welcome page is a perfect jumping-off point for us to see how it does so. (And you may have already figured out some of this on your own if you completed last week’s tasks.)
The controller
Let’s go ahead and open up the controller file.
In the left-hand column of Sublime Text, expand the application folder, then the controllers folder, and double-click the welcome.php file, which should appear like so:
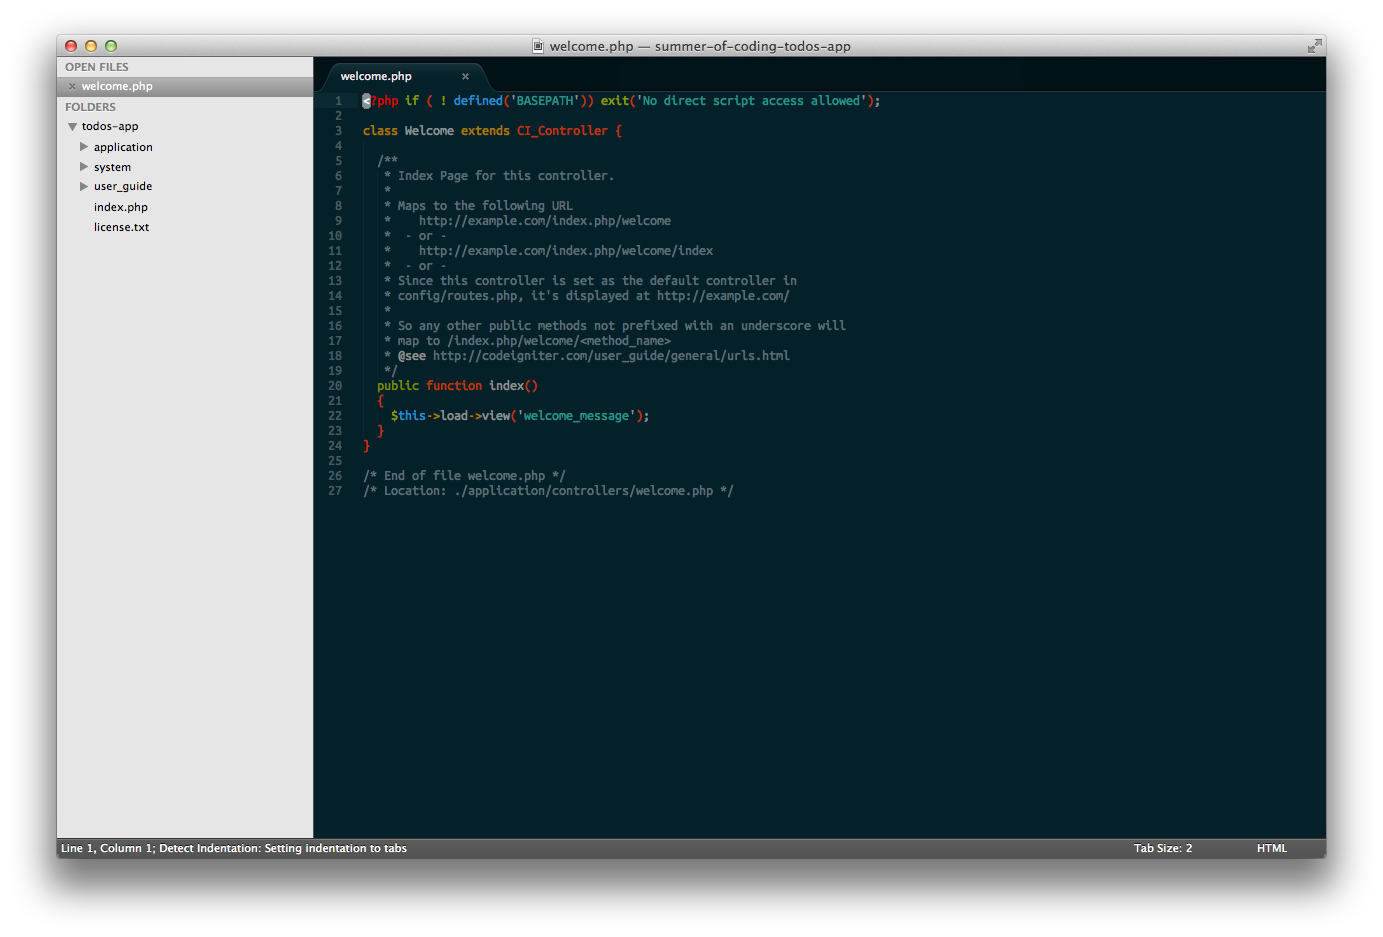
The initial code for CodeIgniter’s Welcome controller
What you see is an example of a CI controller. The very first line simply prevents outside visitors from being able to access this file directly. They don’t need to, and should not be, viewing the code we’re writing.
The next line begins our controller’s code:
class Welcome extends CI_Controller {
  .
  .
  .
}
Remember that every opening curly brace, {, must always have a pairing ending curly brace, }. Curly braces help us determine where certain sections of code begin and end.
There are a few new concepts introduced by that first line:
class Welcome extends CI_Controller {
that we’ll discuss now.
Classes
You’ll notice that our controller’s code begins with the word class. In programming of any kind, classes are general constructs that are used to define a specific type of item. In this case, we’re creating a class aptly named Welcome that will contain all of the functionality for our Welcome controller.
Extending to “borrow” functionality
Remember when I mentioned that the system directory contains all of the built-in CI functionality? Well, this is the first example we’re seeing of utilizing some of it.
CI comes equipped with the ability to help power our web app’s controllers. Within its code, there is another class named CI_Controller that contains all of the core functionality for controllers.
As opposed to copy-and-pasting all of that code so we can use it in our own controllers, we can simply extend it, or borrow all of its existing functionality, and build any additional functionality we may require on top of it.
By extending CI_Controller, the Welcome controller automatically inherits the ability to use its functionality.
The index action
As we discussed previously, controllers contain different actions, which are functions that handle various user requests.
In web development, an index refers to a main, or default, location. (The term comes from the early days of the web where an “index” page would act much like an index of a book, containing references, and links to, other pages within the site as a whole).
In the case of controllers, each action is frequently associated with a URL.
So say we had a Todos controller (and we will, in a little while!), which will handle user requests to:
- view a list of all the todos in our database; and
- create new todos.
In our controller, we could create two corresponding actions:
- an
indexaction to handle the request to view all todos; and - a
createaction that handles a user’s request to create a new todo.
Those two actions could be associated with the following URLs, /todos and /todos/create, respectively.
In the case of the Welcome controller, the index action:
public function index()
{
  $this->load->view('welcome_message');
}
is responsible for loading the view that renders the welcome message you see when you visit http://localhost/todos-app/.
As we’ve discussed previously, one of the jobs of a controller action is usually to load a specific view to be displayed to the user. In this case, we’re using the following line, utilizing CI’s built-in functionality, to load the welcome_message view:
$this->load->view('welcome_message’);
The view
As you know, views are responsible for rendering a display that users view in their web browsers.
In our Welcome controller’s index action, the welcome_message view is being loaded. If you go back into Sublime Text and go to the directory application/views, you’ll see the corresponding welcome_message.php view file.
When loading a view in CI using load->view, you simply refer to it by the file’s name without the .php extension. That’s why you saw that the text 'welcome_message’ was used above to load the view, not 'welcome_message.php’.
Go ahead and open up the welcome_message.php file in Sublime Text, which is shown in the figure below. You may notice that its contents look familiar — that’s because it’s just some HTML and CSS.
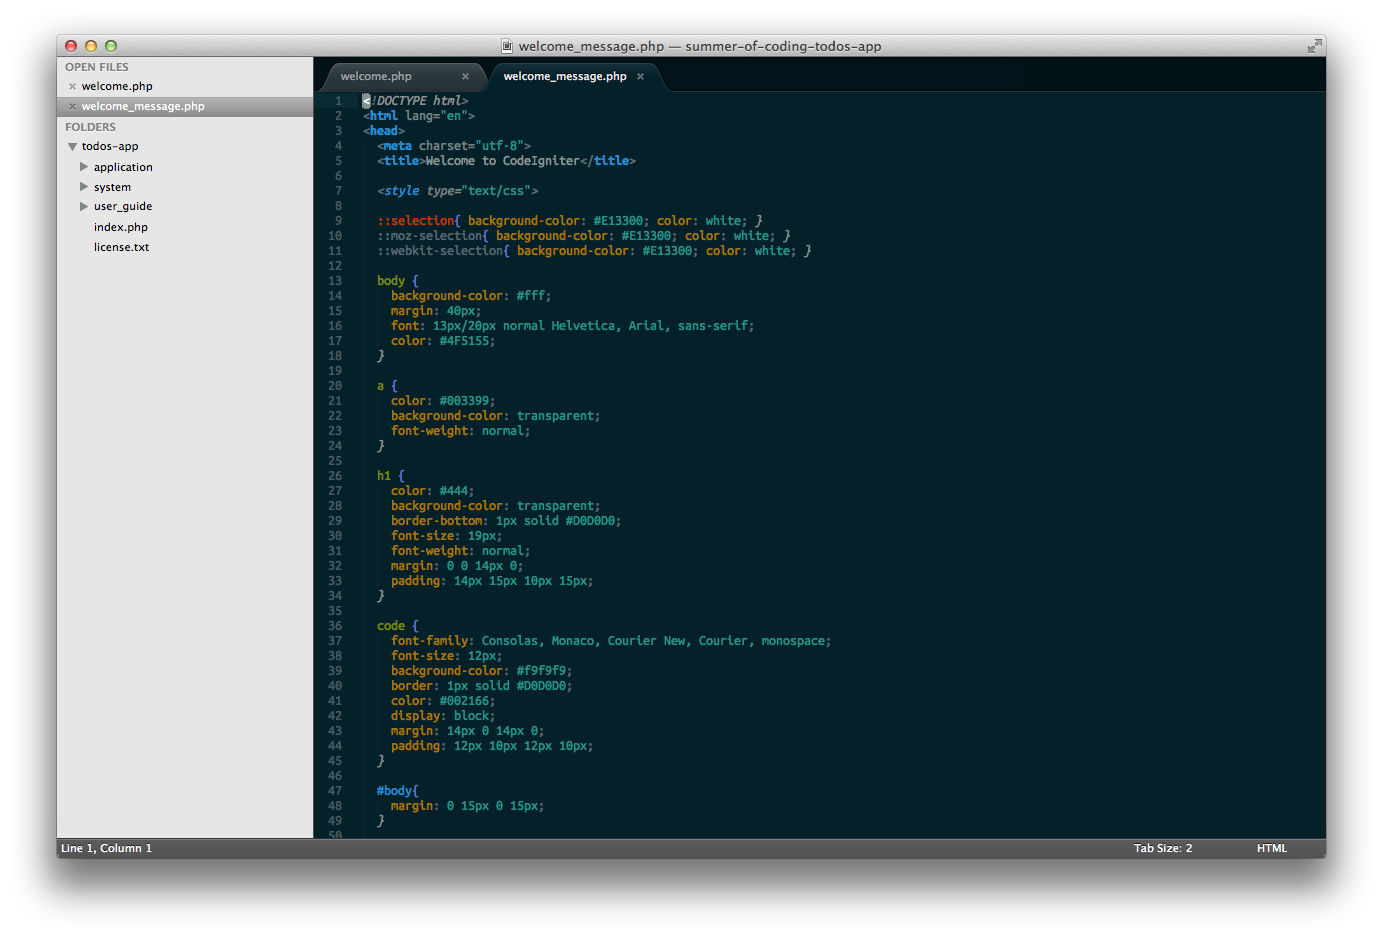
The initial code for CodeIgniter’s welcome_message view
If you go to the bottom of the file, change some of the wording, save the file, and refresh the http://localhost/todos-app/ page in your browser, you should see your changes reflected. You just successfully edited a view!
The welcome page’s URL
“But,” you might ask, “why do we see the welcome screen when we visit the main URL for our app? Why doesn’t its URL end with something like /welcome?”
Good question! That’s where routing comes into play…
Routes explained
As we discussed previously, when we visit a URL associated with our app in our browser, the app’s first job is to determine what we’re trying to access.
The way that our web app knows where to direct our users, based on the URLs they enter, is by establishing routes. Routes are exactly that: a mapping between URLs and specific controller actions.
Right now, the Welcome controller’s index action points to our web app’s root URL (remember that the root refers to the “top level”, in web development), but we can change that by simply altering it’s route.
The “default” controller
But before we do that, let me answer the previous question about why the welcome message view’s URL doesn’t end in /welcome.
CI has a setting known as the “default controller”, which can be set to a specific controller. When a user visits the root URL — which contains no identifying information about what the user is trying to view — the default controller is loaded.
By default (ya, I know…), the default controller is set to be the Welcome controller. That’s why when we visit http://localhost/todos-app/ the Welcome controller’s index view is loaded, which is why we see the “Welcome to CodeIgniter” page.
Configuring routes in CI
In Sublime Text, open up the routes configuration file: application/config/routes.php. Routes are most certainly a part of our app’s overall configuration, hence this file’s location in the our configuration directory — application/config.
At the bottom, you’ll notice the following line:
$route['default_controller'] = "welcome”;
This is where the default controller is defined, and as mentioned, it’s set to the Welcome controller, by default.
If you change that line to the following (and save the file):
$route['default_controller'] = "foo”;
and then revisit http://localhost/todos-app/ in your browser, you’ll notice that you now see a page displaying the “404 Page Not Found” error message, as shown here:
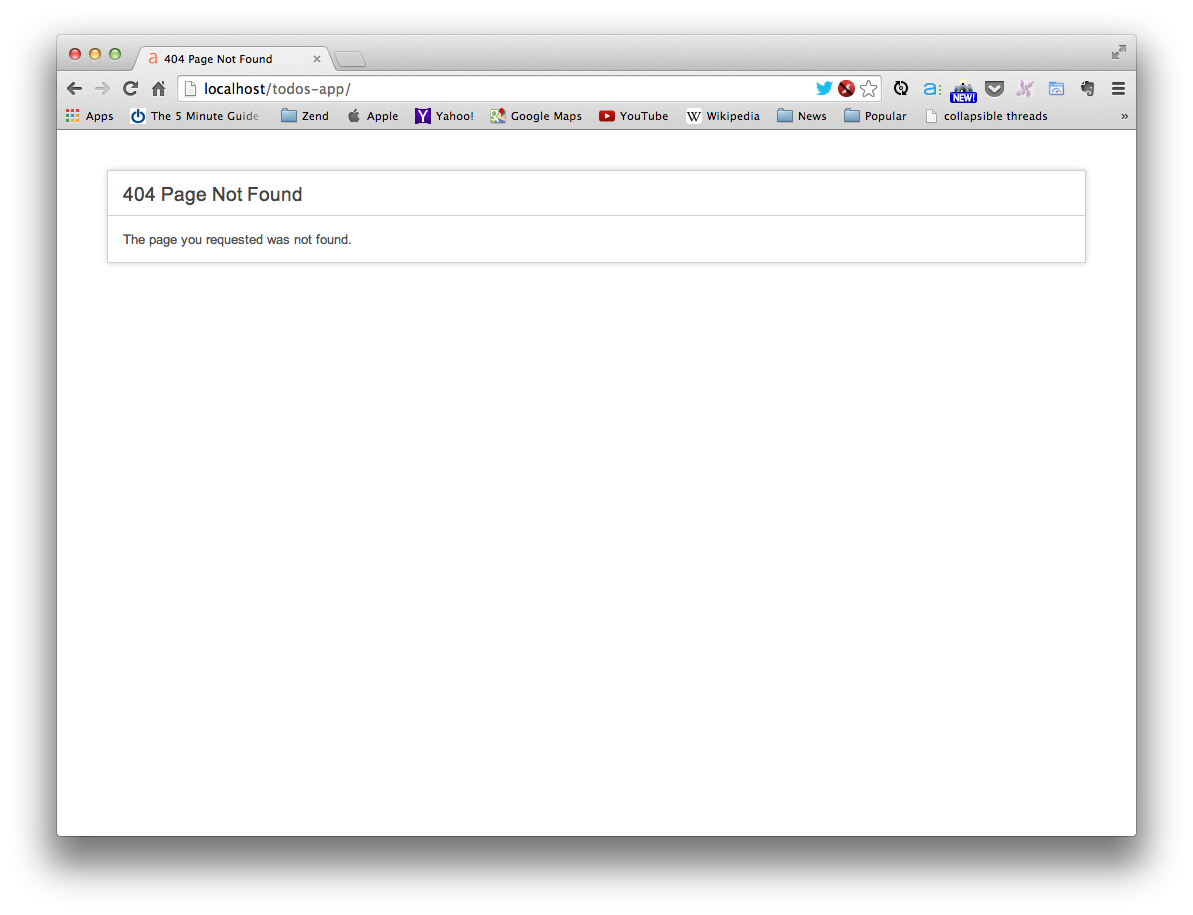
CodeIgniter’s default “404 Page Not Found” error page
For the sake of further demonstrations, let’s go ahead and revert the default controller back to using “welcome”:
$route['default_controller'] = "welcome”;
HTTP Status and Error Codes
There are multiple status and error codes that you can receive when attempting to view a webpage, all of which are identified by a unique number. When you visit a URL that’s not associated with an existing webpage — as we just experienced — you’ll see a 404 error, which basically signifies that the page you were attempting to access could not be located. There are many other status and error codes, and you can view a complete list, if you’re interested.
Some routes work automatically
Due to some of CI’s built-in intelligence, some URL routes work automatically. In fact, you can reference any controller action using the following URL format:
http://localhost/todos-app/index.php/[controller-name]/[action-name]
That means that we can access our welcome screen at the following:
http://localhost/todos-app/index.php/welcome/index/
(If you’re still seeing a “404 page not found” error, make sure you reverted your default controller back to "welcome”!)
Note that when accessing any controller’s index action, you aren’t required to reference it in the URL. So the following URL will bring you to the same place:
http://localhost/todos-app/index.php/welcome/
Also note that with CI, index.php is required in the URLs, by default.
Changing the Welcome page URL
Let’s say we want to change the welcome page’s URL to http://localhost/todos-app/welcome-to-ci/ We can accomplish just that by defining a new route in the routes.php configuration file.
Routes are defined by adding lines to the routes configuration file in the following format:
$route['desired-url-fragment'] = "controller-name/action-name”;
To define our new welcome-to-ci route, go ahead and add the following line to the bottom of the routes file, as shown here:
.
.
.
$route['welcome-to-ci'] = "welcome/index";

/* End of file routes.php */
/* Location: ./application/config/routes.php */
As you can see in the figure below, that says to CI, “if a user visits the URL (ending in) welcome-to-ci, load the Welcome controller’s index action.”
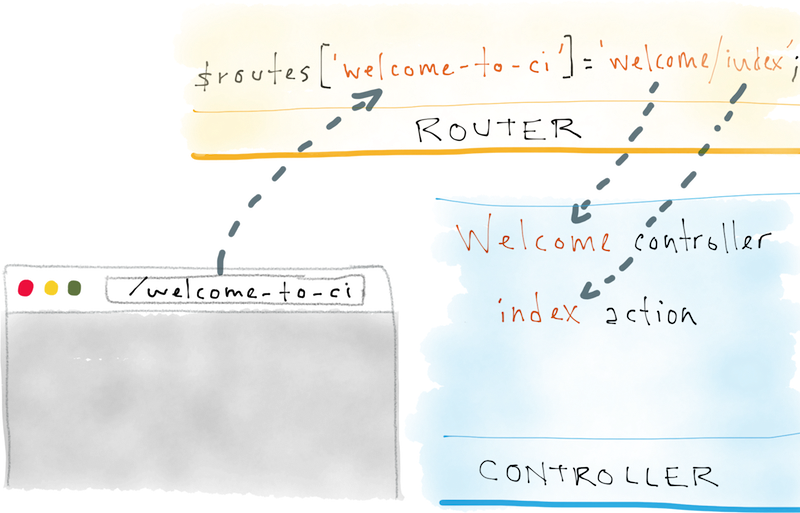
Depiction of a custom Welcome index route
And you’ll notice that if you visit our originally desired URL — http://localhost/todos-app/index.php/welcome-to-ci/ — you’ll now see the “Welcome” page.
Nice work — you just defined your first custom route!
Now that you have a foundational understanding of how routing works in CI, let’s put it all together and do some coding.
Week 6 Task
1. Add a new “hello” view
The first task is to add a new “hello” view, using the same techniques we discussed above.
Here are the steps you’ll need to take:
- Create a new view file in the views folder.
- Add an action to the
Welcomecontroller that loads your new view file. - Test out your new page using its automatically-generated route.
- Define a new custom route so you can access your page at http://localhost/todos-app/index.php/hello/ (and test that out, too, of course).
2. Start thinking about how we’ll be building our todo app’s functionality
In coding, it’s important to very frequently take a step back and actually think about the code you’re writing and how it’s functioning.
It’s very easy to get trapped in the mode of “copy this code; paste this code; it does this — great; moving on.” The problem with that cycle is, if you never take time to consider how everything works, you may not be truly grasping, and understanding, the important concepts being conveyed.
Now that you have a solid understanding of the working parts of a web app, it’s a perfect time to take a step back and consider how we’ll be going about building our todos app, moving forward.
To refresh your memory, our app will ultimately:
- Allow us to view existing todos
- Allow us to add new todos
- Allow us check off/complete todos
Here’s your task:
Using all of your new knowledge, write an exhaustive list of all of the steps you think we’ll be taking from here on out in order to build our app.
When you finish, leave a comment below with your list.
It may seem a bit tough at first, but trust me, give it a try. And it’s perfectly normal if you feel like there are things missing from your list. I wouldn’t expect you to be able to come up with the full list on your first try! Otherwise, why would you be here? :)
And next time, we’re going to begin working on some of those items that are on the list you just creating — starting to build our actual todos app.
Stay tuned, and happy coding!