When you’re working with resources (i.e. different types of objects) in Laravel, it’s very common to create forms to create/update those objects in your database.
And the most refined way to do this is using form model binding. Form model binding allows you to associate a form with one of your application’s models, and automatically:
- matches inputs named after model fields
- populates the form’s fields with an existing model object’s data (if you’re editing and existing object)
- repopulates the form with session data (say, if you’ve redirected to show validation errors after a failed object creation)
And implementing this in your application is as easy as using a few functions from Laravel’s Forms & HTML library. Let’s see how.
Installing the Forms & HTML library
With the introduction of Laravel 5, a few components were removed from the core Laravel framework and are now managed by the Laravel Collective. One of those was the Forms & HTML library, which provides functions for easily creating and interacting with forms in your application.
The first thing you need to do is install the Forms & HTML library in your application using Composer. First, update your composer.json file to include the library:
"require": {
    // …
  "laravelcollective/html": "5.1.*"
}
Next, open the command line; (connect to your virtual machine if you’re using Homestead); move into your application’s directory; and update Composer:
$ composer update
Next, add the library’s provider to the providers array in config/app.php:
  'providers' => [
    // …
    Collective\Html\HtmlServiceProvider::class,
    // …
  ],
And finally, add the library’s two class aliases to the aliases array, also in config/app.php:
  'aliases' => [
    // …
      'Form' => Collective\Html\FormFacade::class,
      'Html' => Collective\Html\HtmlFacade::class,
    // …
  ],
Creating a Form With Model Binding
Let’s say your application has a Car model and a CarController resource controller.
For example’s sake, let’s create a sample Create Car page with a form to create a new Car object.
Your controller’s create action might look like so:
  public function create()
  {
    $car = new Car;
    return view('cars.create', ['car' => $car ]);
  }
You need to create a new object and pass it through to the view. And then you use object when creating the form in your create view:
{!! Form::model($car, ['action' => 'CarController@store']) !!}

{!! Form::close() !!}
The Form::model function, provided by the Forms library, is used to create a form with model binding. Notice that the first thing it accepts is that Car object we passed to the view. And the second argument is an array where you can specify, for example, the controller action to handle the form submissions. The Form::open call will generate the following opening HTML form tag (depending on your application’s defined routes):
<form method="POST" action="http://app.url/cars" accept-charset="UTF-8">
The Form::close function just generates the closing </form> tag. Also note the use of the {!! and !!} tags used to print unescaped HTML output.
Now you just need to add some fields to this form!
Adding Form Fields
Assuming your application is using the Bootstrap framework, using a combination of Bootstrap classes and elements and Forms library functions, creating a new form is a breeze.
For the sake of demonstration, let’s say your Car model has two simple text fields: make and model. Your complete form might look like this:
{!! Form::model($car, ['action' => 'CarController@store']) !!}

    <div class="form-group">
      {!! Form::label('make', 'Make') !!}
      {!! Form::text('make', '', ['class' => 'form-control']) !!}
    </div>

    <div class="form-group">
      {!! Form::label('model', 'Model') !!}
      {!! Form::text('model', '', ['class' => 'form-control']) !!}
    </div>

    <button class="btn btn-success" type="submit">Add the Car!</button>

  {!! Form::close() !!}
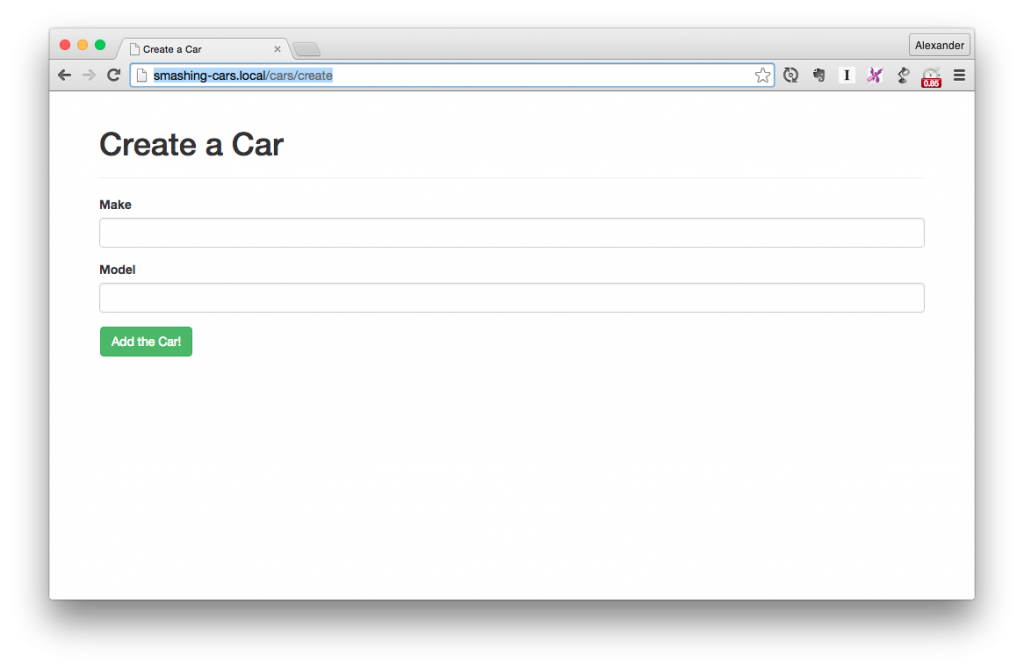
And that would yield a Create Car page with a completed form similar to the one shown below.

The create page with the form, created using the Forms & HTML library and Bootstrap framework
In Laravel 5 Model Validation With the Esensi Model Traits Package, I show you how to continue building out your application to handle this form’s submissions and validate the creation of new model objects. Check that out to continue!

